All the Good Quilt Along Week 3

Welcome back to week 3 - you are here and you are awesome! Today we get into the nitty gritty of the pattern. Today we get to see it begin to take some shape and it will be so exciting and propel you on!
Today we are going to make our Half Square Triangles (HST). The video below begins by explaining how to line up your colors and then goes into a second video about how to cut them. Watch it all to get you started and check out the tips below for matching up your colors.
So, let's talk about color! First, let me explain, for those who haven't heard it or thought a lot about it the power of ROYGBIV. As kids in elementary school we learned that the rainbow is made up of Red, Orange, Yellow, Green, Blue, Indigo and Violet. ROYGBIV. Laying out your colors, even if there are only three of these represented, in this order will help you match up your A blocks to each other. So...
1. Lay out your A blocks in ROYGBIV order. Use a larger table or the floor if necessary. You don't have to lay them all out in a row, but keep similar colors together. What if you are doing all the same color? Line them up from light the dark. Do the same inside of a Roy G Biv. Example. If you have three Red, three Orange and three Blue, lay them in a row so that each color, next to itself is light to dark.

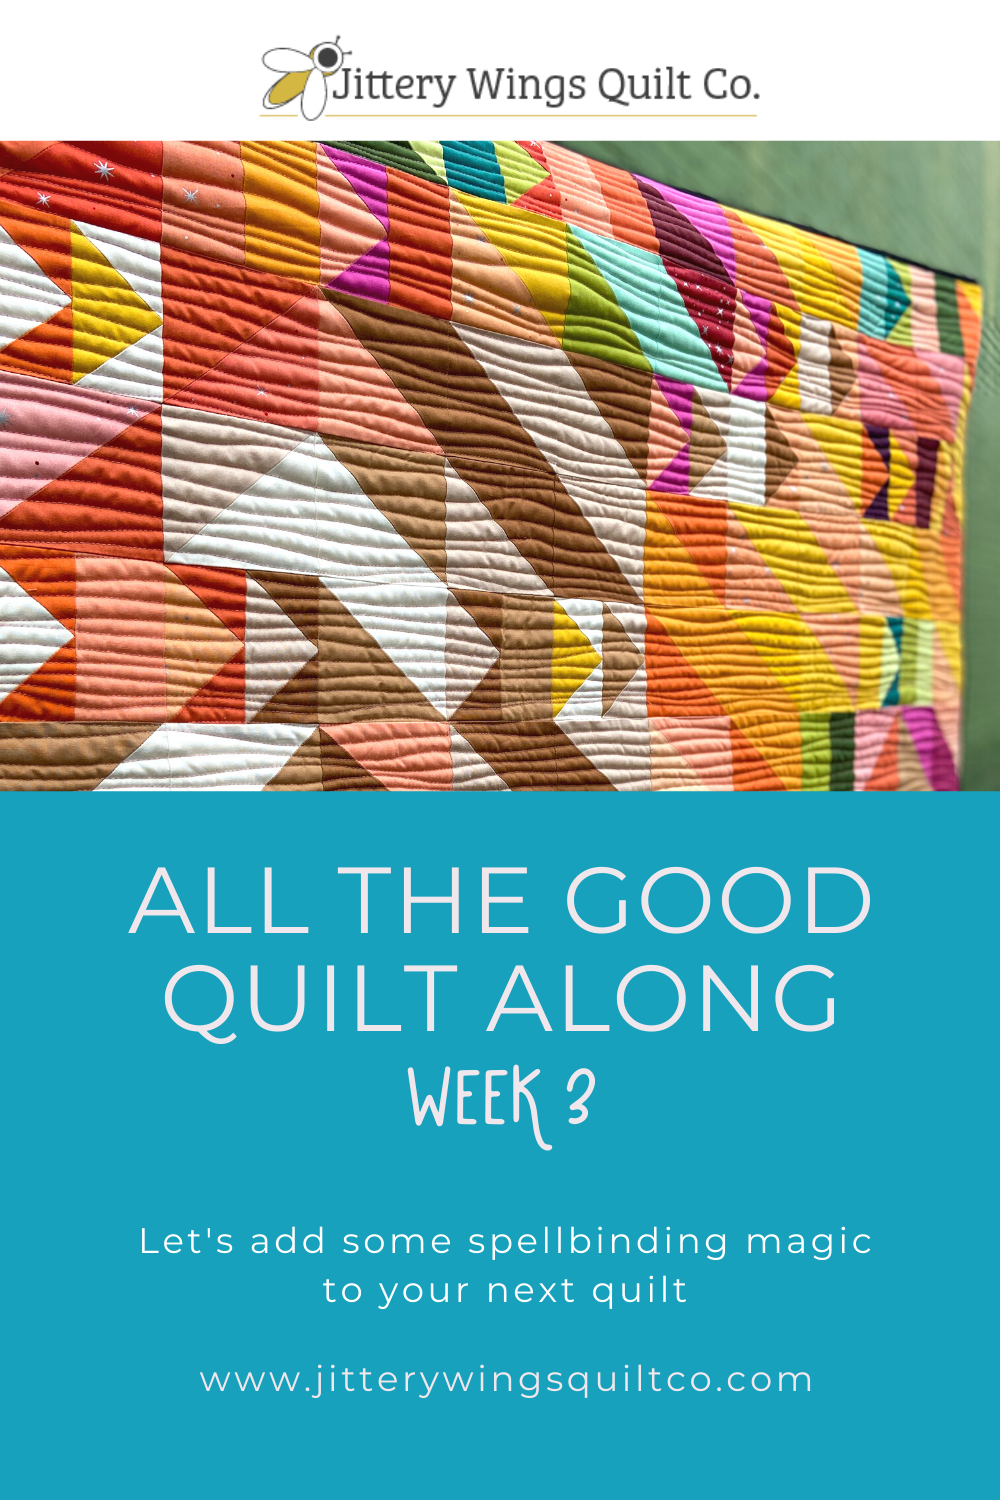
2. Think about the flow you want for your quilt. I mentioned this in week one. It is best to have your quilt flow in a natural order of ROYGBIV or light to dark. Once you lay them out, it will help you see the best flow of pattern. Hopefully you can see from the images what I mean by the flow of the colors from one to the next.

4. After you decide you like the flow of your color palette, begin matching up your A blocks one to the next keeping the flow in order. Don't match two of the exact same colors together, but you should be able to match some red to red, then red to orange. Then orange to orange and then orange to yellow. See the pattern...this is what gives the quilt the flow.


5. Continue this process to the end. Once you have all your squares together, start sewing your HSTs and breathe because the hardest part is over! The video below includes tips on making your HSTs.
Take pictures of your fabric flow and post them using our #allthegoodquilt and #jitterywings. I can't wait to see them!